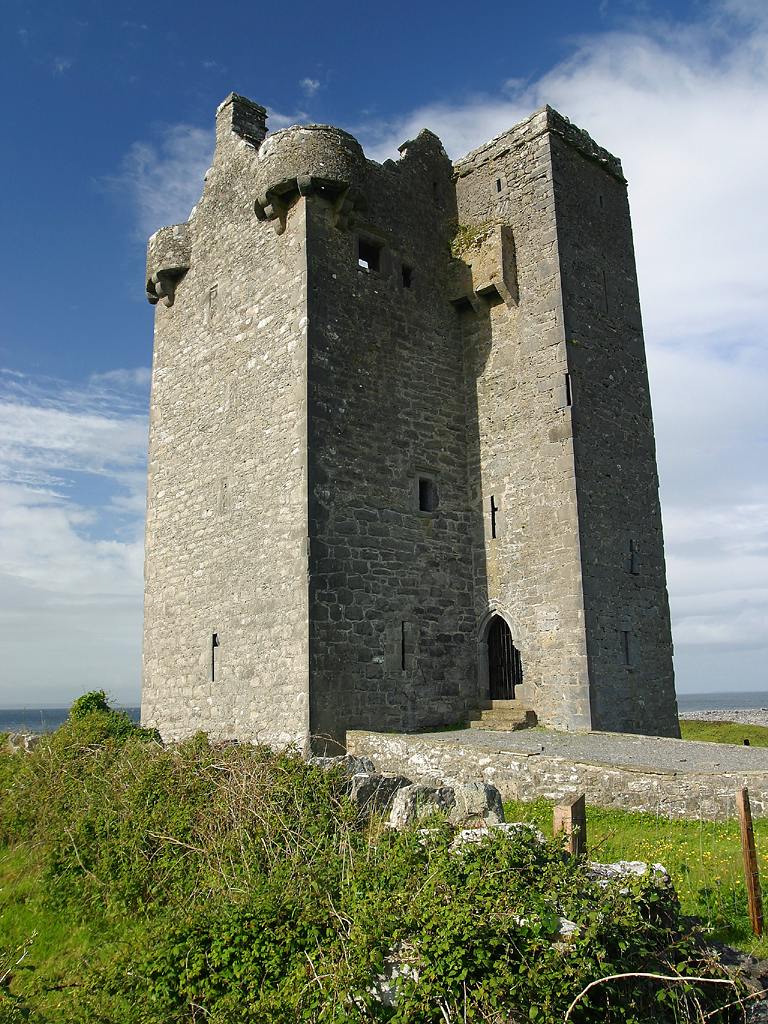
 This map is inspired mostly by the fortified houses of the Scottish and English border regions, especially the L-plan castles which allow defenders to fire on people attacking the door. It also takes the basic idea of the bastle house, which keeps livestock inside the fortified house and includes internal defenses against intruders to protect the residents.
 Rooms on upper two floors have arrow slits for light and air, which can be closed with wooden shutters during rainstorms or in the cooler months. Doors on the upper two stories are good wooden doors (Hardness 5, 15 hp, Break DC 18) while doors on the first floor are iron-reinforced strong doors (Hardness 5, 20 hp, Break DC 25).
 1A. Stables
A steel-reinforced double door provides access to the building through the stables and a small storage area.
1B. Loading Room
Ladders, rope, pulleys, and tackle in the room above allow the inhabitants to enter and bring supplies into the upper, living areas of the tower. The portal in the ceiling to area 2A can be shut and barred from above. A trapdoor in the southern half of the room leads down to area LA.
2A. Storage Entryhall
Ropework and block and tackle mounted to the ceiling in this room allows residents to hoist barrels and crates of supplies up from the Loading room below. In an emergency, the ladders can be drawn up and the portal closed and barred to prevent raiders from entering the living quarters. A large stack of crates stands in the southern half of the chamber.
2B. Hallway
A simple hallway connects the entryhall, the library, and the butler's quarters. A flight of stairs leads up to area 3A.
2C. Library
The library is lined with bookshelves on its eastern and southern walls, but contains several weapons racks of spears, chests of arrows and crossbow bolts, as well as a few mannequins wearing suits of mail.
2D. Butler's Quarters
This large room holds a bunk and living quarters in the north half, as well as fireplace and kitchen along the south wall.
3A. Parlor
Several comfortable armchairs and tables stand in this well-appointed room; a service is laid out for afternoon tea.
3B. Master Bedroom
This luxurious master bedroom has two large chifforobes on the east wall, as well as pot-bellied stove southwest corner. Tapestries and weird, surrealistic portraiture decorates the walls.
3C. Laboratory
Tables of alchemical glassware, cabinets of strange materials, locked bookshelves, mounted skeletons, taxidermically-preserved monsters, and symbol-covered rings on the floor crowd the laboratory. A small trapdoor in the ceiling provides access to the attic or roof.
LA. Basement
Crates and supplies can be hoisted down to this room from the large trapdoor in area 1B in much the same way as they are moved to the rooms above.
LB. Dungeon
Two large empty cells can be closed with a simple padlock.
LC. Cellar
Crates of root vegetables and other foodstuffs are stored in this cool room.
LD. Cistern
A large wellshaft in the center of this room is full of water, providing the building with a constant supply.


No comments:
Post a Comment